
Which Instrument do you have?
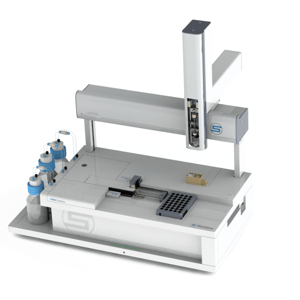
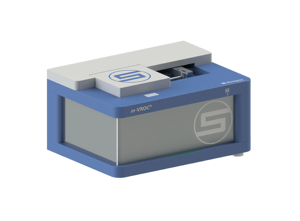
.png?width=300&name=microVISC-m%20thumbnail%20Image%20(Act21%20Home).png)
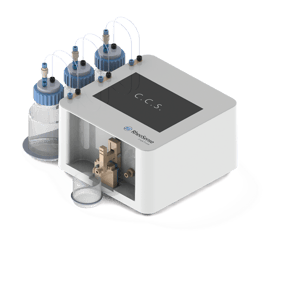
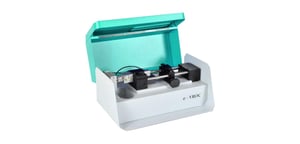
VROC Technology FAQ
internal dimensions:
W = 2.1 [mm](typically)
h = 50[um] = 0.05[mm]
l = 12mm
The channel width and length are different for each chip
The outlet tubing diameter for all chips is 0.055” or 1.2-1.3mm in diameter now (weused to have different sizes before, but unified them this year).For microVISC™chips,inlet is part of sensor cartridge front that has a 0.028” (0.7mm) hole.m-VROC®chips inlet tubing depends on what type of chips.0.25 mm is for A and B-type; 0.5mm is for C-type and 1.0mm for E-type.But B10, B20 and B30 use 0.5mm tubing.
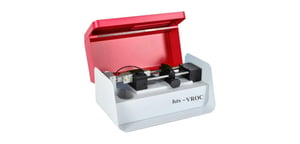
The reason for the temperature difference is with the unique specifications of each viscometer type and the separate Peltier heating and cooling units that are specific to the type of viscometer being used, i.e.) hts-VROC®, m-VROC®, microVISC. In other words, microVISC™ units and VROC® chips are stable in the 18-50 °C range and the associated Peltier units are specific to this range. m-VROC and hts-VROC units and chips are built to withstand greater temperature gradients.
The VROC flow channel technology is the same across the entire suite of our viscometers. The difference is in the surrounding components, which are designed to operate in a much wider temperature range.
Measuring Viscosity FAQ
*NOTE: THIS WILL ONLY APPLY TO NEWTONIAN SAMPLES. If you do not know if your sample is Newtonian then stop immediately and figure out that part first. The way to figure out if your sample is Newtonian or non-Newtonian is to run at various shear rates. If you need guidance on this, please contact us at info@rheosense.com
Your sample is Newtonian? Then we use an “Arrhenius-like” Equation to model the viscosity of a fluid with a change in temperature, as shown in the equation before. Typically, as temperature goes up, viscosity will go down.
- 𝜂= Viscosity
- 𝑅= Gas constant
- 𝐸𝑎= Arrhenius activation energy
- 𝐴= Pre-exponential factor
- T = Temperature(ambient or measured temperature in °C)
It is like the sameArrhenius equation used to model the rate of a chemical reaction, except the absence of a negative sign to cause viscosity to lower with increasing temperature. When written in logarithmic terms, the equation looks like this:
If the fluid tested obeys this equation, then a plot of the viscosity versus reciprocal absolute temperature (aka Kelvins) should be linear. Here, ln(A) is the intercept of this plot (b), Ea/R is the slope(m), and 1/T is x. When substituted, this equation is formed:
To get viscosity, the exponential is added back into the equation:

This is then converted into our final equation:
To clean the chip, fill the test syringe with 1M NaOH and run the instrument at 100 μL per minute. Run until the syringe is empty. After cleaning, there should still be NaOH in the channel. Let the residual NaOH soak in the channel for at least 15 minutes. Then run a syringe containing 60% glycerol solution throughthe chip followed by a syringe of 1% Aquet.
Test the chip with a standard solution or a solution with known viscosity. You can use the 60% glycerol solution if you’d like, it should have a viscosity around 9 cP. It depends on temperature though. The viscosity is approximately 11 cP at 20°C and 8.8 cP at 25°C. If you aren’t getting correct viscosity readings and R2values above 0.996 after soaking with NaOH for 15 minutes, repeat this process with a 30 minute and/or 1 hour soak time.
For cleaning the chips in the future: displace the synovial fluid with a glycerol solution, then run 1% Aquet through the instrument. You can continue using the dilute bleach solution to disinfect the chip, but make sure you store the chip overnight with 1% Aquet. The 60% glycerol should work for almost all of the fluids you test. For the 100 cP synthetic solutions you’ll need to make an 85% glycerol solution: 113 cP at 20°C and 81.5 cP at 25°C.
I would recommend performing the 1M NaOH cleaning once per month moving forward.

The width w = 2000 mm = 2 mm and the height h = 50 mm = 0.05 mm.Q is volumetric flow rate.
There are some best practices when it comes to testing the solubility between two samples. You can do a quick visual solubility check by mixing the two into a new clean (dust-free) vial and checking the mixture. With this test, we recommend also leaving it together for at least a couple hours and if possible, at least one day to ensure proper miscibility.
Separately from this test, with samples such as protein, it may be easier to work with the buffer which your proteins are formulated with. In the cases with formulated proteins, since you are already aware of the buffer, using the buffer to clean, and then a detergent solution or a solution miscible with the buffer will ensure effective cleaning.
We recommend a minimum of three different shear rates when analyzing your samples to determine whether they are Newtonian or non-Newtonian. Separately, the shear rates should have a wide range. The reason for the wide range is because many are complex. Sometimes, your sample will not show shear thinning or shear thickening behavior at low shear rates but will at high shear rates.
Overall, there is just a lot to your sample that you may not know about until you actually test it. As a result, we recommend testing as much of a range as possible to ensure full knowledge of how your sample behaves.
